Safety Tips for Solo Cycling Adventures
Master the essentials of safe solo cycling with practical techniques that build confidence and protect you on every ride.
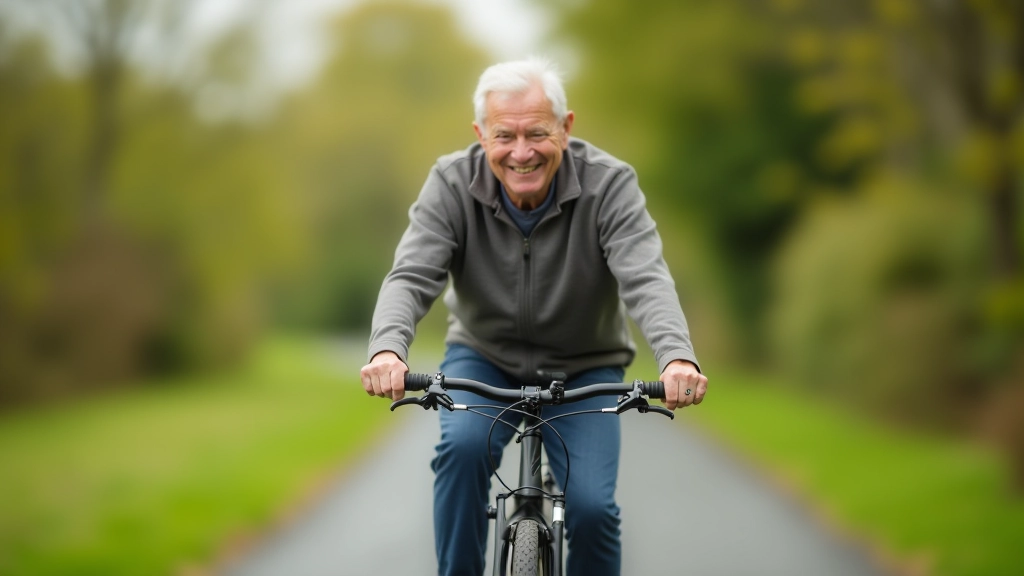
Why Solo Cycling Safety Matters
Cycling alone is freedom. But it's also responsibility. You're not just riding for fitness or fresh air — you're managing every aspect of your ride without backup. That's why preparation matters so much.
The good news? Safety isn't complicated. It's about understanding the real risks, preparing properly, and developing habits that become automatic. We've covered thousands of solo riders over the years, and the ones who stay safe aren't the fearless ones — they're the prepared ones.
Visibility is Everything
Most accidents happen because riders weren't seen. Lights, bright clothing, and road positioning prevent 70% of solo cycling incidents.
Mental Awareness
Your attention span matters more than your speed. Staying alert to road conditions, traffic patterns, and your own fatigue keeps you safe.
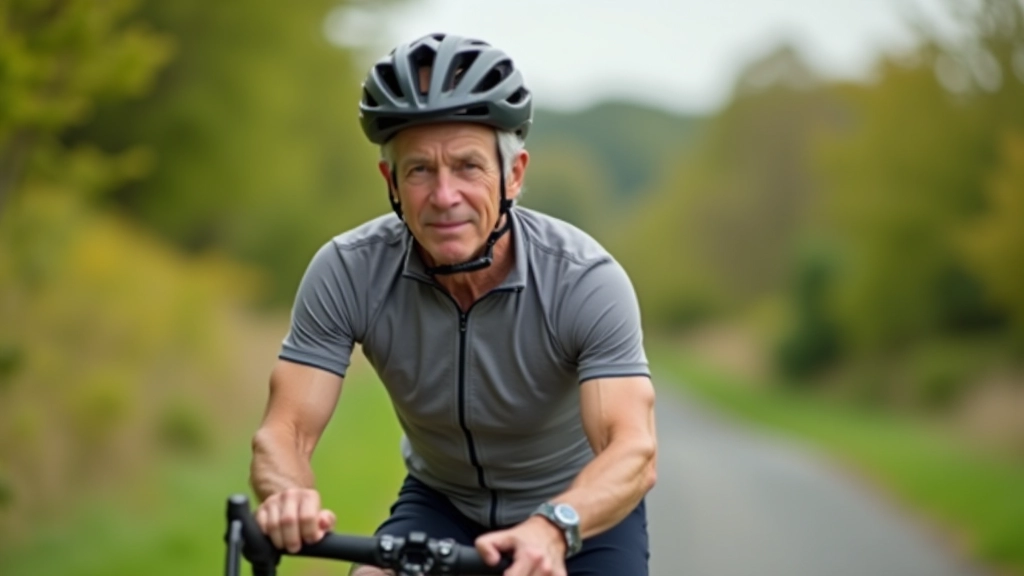
Equipment Readiness
A helmet, working brakes, and basic repair tools are non-negotiable. They're not "nice to have" — they're essential.
Master Your Pre-Ride Checklist
Before you leave the house, you need a mental routine. It's not paranoid — it's professional. Think of it like checking mirrors before driving.
Helmet fitted properly — sits level, 2 fingers above
eyebrows
Brakes responsive — test front and rear at low speed
Tires properly inflated — check pressure, not just feel
Lights working — front and rear, fully charged
Phone charged — at least 50% battery for emergencies
ID and insurance info — in your jersey pocket or bag
This routine takes about 90 seconds. Do it every time, even for short rides. You're building muscle memory that'll kick in automatically.

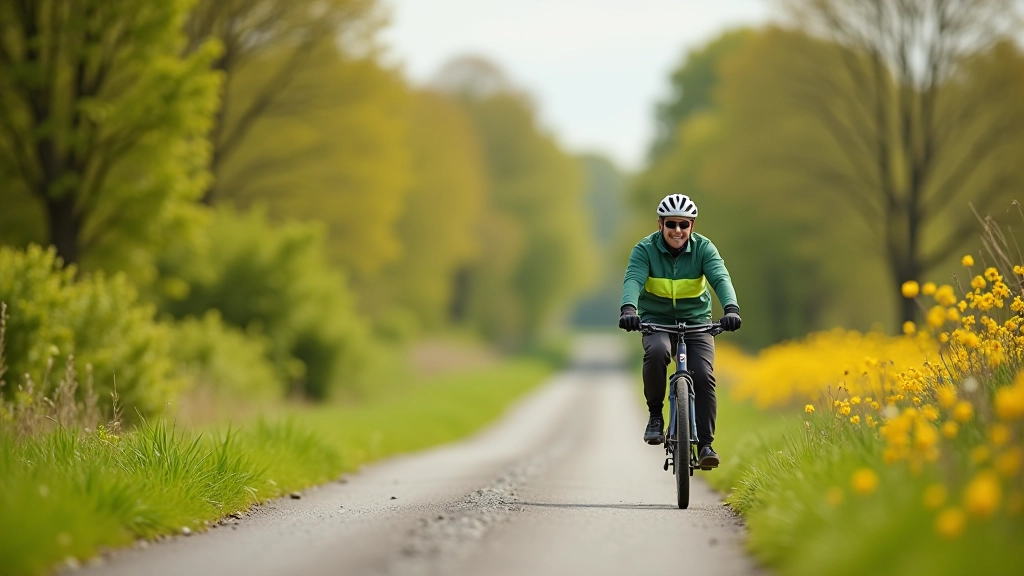
Visibility: Your Best Defense
Here's the reality — most collisions happen because a driver simply didn't see the cyclist. Not because they were reckless. They genuinely didn't notice.
You've got two tools: lights and clothing. During daylight, a bright jersey or gilet makes an enormous difference. We're talking high-visibility yellow or orange, not pastels. In low light — dusk, dawn, or overcast days — front and rear lights are non-negotiable. A bright headlight (200+ lumens) and a rear red light should be standard equipment.
Position matters too. Don't hug the edge of the road. Take a line that's visible — usually about 1 meter from the curb. It feels brave at first. But drivers see you better, and you've got an escape route if needed.
Daytime Riding
Bright jersey, front blinking light, rear blinking light. Yes, even at midday.
Dawn & Dusk
Front white light (steady, not blinking). Rear red light. High-vis clothing essential.
Night Riding
Avoid if possible. If necessary — powerful front light (400+ lumens), multiple rear lights, reflective gear.
Continue Your Learning
Reading the Road Ahead
Solo cycling requires constant attention. Not paranoia — just awareness. You're scanning 15-20 seconds ahead, reading what's coming.
Watch for potholes, debris, parked car doors, and traffic patterns. Most hazards are predictable if you're paying attention. A gravel patch usually appears the same way each time you ride that road. A busy intersection has patterns — certain times are busier than others.
1
Scan Ahead Constantly
Look 15-20 meters ahead. Spot hazards early so you've got time to react.
2
Use Peripheral Vision
Watch for movement in parked cars (doors opening) and side streets (traffic emerging).
3
Adjust Your Line Early
Don't swerve last-second. If you see a hazard, move smoothly to avoid it with plenty of space.
Your brain gets tired. That's real. If you've been riding for 90 minutes and your attention is dropping, it's time to stop. Fatigue kills focus, and focus is your primary safety tool.
Be Prepared for Emergencies
Solo riding means you don't have someone to help if something goes wrong. So you need to be self-sufficient.
Carry the basics — a spare inner tube, tire levers, a small pump, and a multi-tool. These aren't optional. They weigh almost nothing but can save a ride. Most breakdowns aren't catastrophic. A flat tire, a dropped chain, or a loose bolt — these you can fix in 10 minutes.
Beyond tools, you need a plan. Tell someone where you're going and when you'll be back. Carry your phone. Have emergency contacts saved. Know the general route so you're not completely lost if you take a wrong turn.
Repair Kit
Spare tube, tire levers, multi-tool, small pump
Communication
Charged phone, emergency contacts saved
First Aid
Band-aids, antiseptic wipe, pain reliever
Visibility
Extra lights, reflective armband, whistle
You're not carrying all this because you're paranoid. You're carrying it because you're confident you can handle whatever happens on the road.

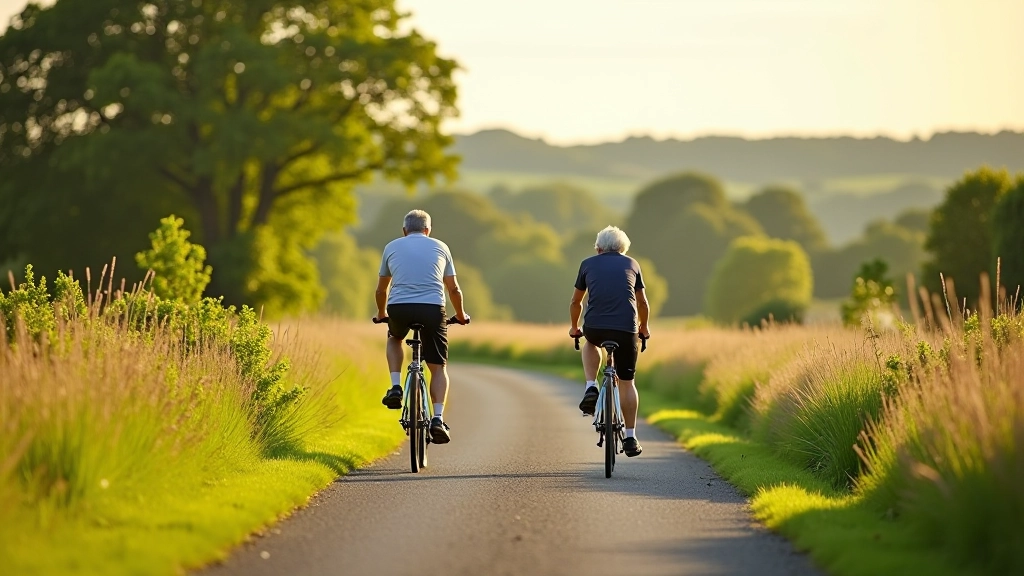
Solo Cycling is Safe When You're Prepared
The solo cyclists who stay safe aren't fearless — they're methodical. They've got a checklist. They know their routes. They've got the right equipment and they maintain it. They're alert on the road, and they know their own limits.
These habits become automatic. After a few weeks of consistent practice, you won't even think about them. The pre-ride check takes 90 seconds. The visibility gear becomes part of getting dressed. Road awareness becomes second nature.
Start with one habit — maybe it's the pre-ride checklist. Master that. Then add visibility gear. Then work on road reading. Build these layers one at a time, and you'll be riding confidently solo in no time.
Ready to start your solo cycling journey?
Explore our beginner's guideDisclaimer
This article provides educational information about cycling safety practices. It's not a substitute for professional instruction, medical advice, or your own judgment. Cycling carries inherent risks. Always wear a helmet, follow local traffic laws, and consult with healthcare professionals if you have concerns about your fitness for cycling. Your safety is your responsibility — adjust these recommendations based on your individual circumstances, fitness level, and local conditions.